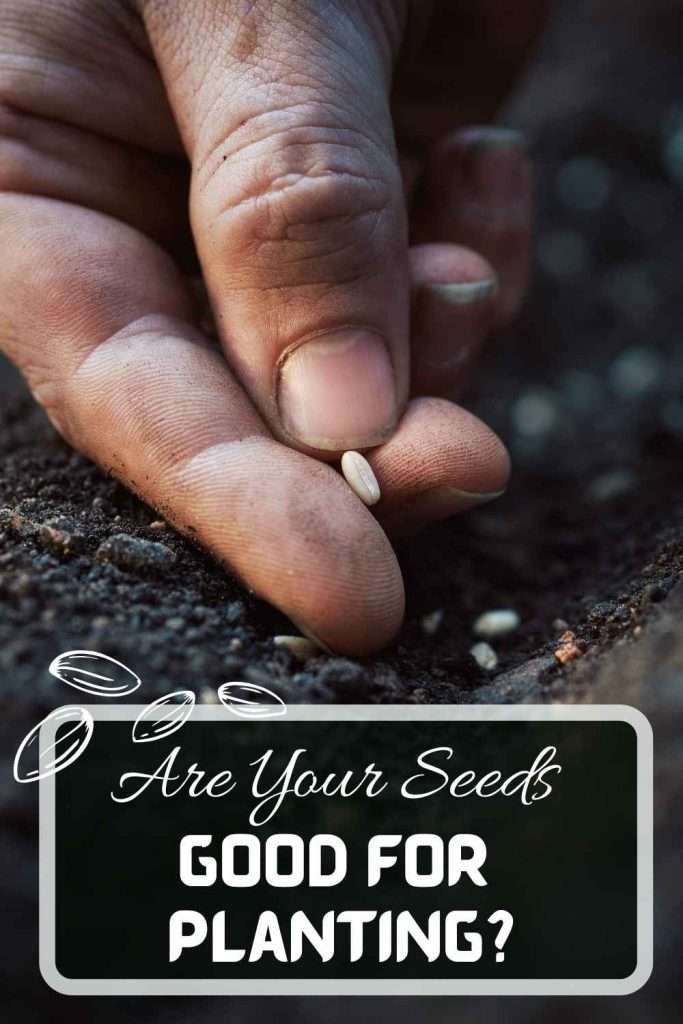
When it comes to gardening, one of the most important steps is ensuring your seeds are healthy and ready to grow.
Testing seed viability before planting can save you time, effort, and money by preventing the disappointment of poor germination rates.
In this article:
Here are three simple methods you can use to check if your garden seeds are good for planting.
1. The Water Test

The water test is one of the easiest ways to get a quick idea of seed viability. Simply fill a bowl with room-temperature water and gently drop your seeds into it. Observe what happens:
Sinkers vs. Floaters: Viable seeds tend to sink because they are dense and healthy. If a seed floats, it may be hollow or not fully developed, indicating that it’s less likely to sprout.
Quick Check: Let the seeds sit for about 10–15 minutes. If most of your seeds sink, that’s a good sign. If many float, consider testing a new batch or purchasing fresh seeds.
Keep in mind that the water test isn’t 100% foolproof, but it’s a quick and practical way to assess seed quality.
2. The Paper Towel Test

This method provides a bit more insight by mimicking the conditions needed for germination:
How to Do It: Moisten a paper towel (it should be damp, not soaking wet), and evenly spread out your seeds on it. Fold the towel over the seeds and place it in a plastic bag or container to maintain humidity.
Warm Environment: Put the setup in a warm spot, ideally somewhere around 21°C (70°F). Check the towel daily for signs of sprouting.
Results: Within a few days, viable seeds should begin to sprout little roots. If you see most of your seeds developing tiny sprouts, it indicates that they’re healthy and ready to plant. If only a few or none sprout, it might be time to source new seeds.
This method not only tells you if your seeds are viable but also gives you a rough idea of the germination rate you can expect.
3. The Soil Germination Test

The most realistic way to check seed viability is by simulating actual growing conditions:
Plant a Test Batch: Fill a small container or electric propagator with well-draining potting soil. Plant about 10–20 seeds at the recommended depth for that specific type of seed.
Monitor Growth: Keep the soil evenly moist and place the container in a spot with the appropriate amount of sunlight. Observe the seeds over a couple of weeks.
Assess Germination Rate: After the germination period, count the number of seeds that have sprouted. A high germination rate (typically 80% or higher) indicates that your seeds are in good shape. If only a few germinate, you might want to start with a larger quantity of seeds or invest in a new batch.
The soil germination test is slightly more time-consuming but provides the most accurate representation of how well your seeds will perform in your garden.
Pro Tip: Overseeding as a Viability Test

One highly effective approach is to plant your seeds as you normally would, but overseed significantly, using a much higher seeding rate than usual.
If the seeds are in good condition, you’ll notice an abundance of seedlings emerging, confirming their viability.
Once the plants have sprouted, you can thin them out or transplant the strongest individuals to achieve optimal spacing.
This method not only serves as a practical test for seed quality but also allows you to select the best plants for a thriving garden.
Final Thoughts on How to Tell if Your Garden Seeds Are Good for Planting

Testing the viability of your garden seeds doesn’t have to be complicated. Whether you choose the quick water test, the paper towel method, or the more hands-on soil germination test, these simple techniques can help ensure that you’re planting only the healthiest seeds.
By taking time to test your seeds before sowing, you can enjoy a more successful gardening season with robust and thriving plants.